kubefwd is a tool that bulk-forwards Kubernetes services to your local machine, making them accessible by their real hostnames. Instead of juggling kubectl port-forward commands, you run sudo kubefwd svc -n mynamespace and your app can connect to postgres:5432 or api:8080 as if those services were running locally. For full details on kubefwd’s features, see kubefwd in 2026: Interactive TUI and Auto-Reconnect.
This post is the MCP piece: an assistant that discovers cluster services, forwards them by name, and reads pod logs, without a terminal full of kubectl port-forward.
§Why a port-forwarder speaks MCP
MCP (Model Context Protocol) is a standard that lets AI assistants interact with external tools.
LLMs are good at writing code, but writing code is a small part of software development. kubefwd exists so you can develop against cluster services locally; with MCP, the same tool is available to the assistant in the editor.
Consider a new caching layer. The assistant can see redis and authentication running in the project namespace, forward them to their native hostnames and ports (redis:6379, auth:443), write config that uses those addresses, test the connections, and read pod logs when something fails. That is the kubefwd MCP added to Claude Code, or any other MCP-capable agent.
§What the MCP server exposes
With the kubefwd MCP, the assistant can list services and pods in cluster namespaces, start forwarding a service or a whole namespace, drop forwards you no longer need, read pod logs and Kubernetes events, and return the exact hostnames and ports to use.
The assistant sees what is actually deployed, not only the source tree. It can match local config to the ports those services expose.
§Examples
§Claude Code
Here’s Claude Code with the kubefwd MCP helping develop a new notification service:
> Help me develop a new service in Python that will query the
  kfdemo database and send an email to each address in the
  database that has not yet received a notification.

⏺ I'll help you build that. Let me first see what services
  are available in the kfdemo namespace:

⏺ kubefwd:list_k8s_services (namespace: "kfdemo")
  ⎿  { "count": 4, "namespace": "kfdemo", ... }

⏺ You have a postgres database on port 5432 and an smtp
  service on port 2525. Let me forward those so you can
  develop locally:

⏺ kubefwd:add_service (namespace: "kfdemo", service_name: "postgres")
  ⎿  { "localIP": "127.1.27.3", "ports": [{"localPort": "5432" ... }

⏺ kubefwd:add_service (namespace: "kfdemo", service_name: "smtp")
  ⎿  { "localIP": "127.1.27.4", "ports": [{"localPort": "2525" ... }

⏺ Both services are now forwarded. Here's a configuration
  file for your Python service:

  # config.py
  DATABASE = {
      "host": "postgres",
      "port": 5432,
      ...
  }

  SMTP = {
      "host": "smtp",
      "port": 2525
  }

  Your code can now connect to postgres:5432 and smtp:2525
  using those exact hostnames, just like it would in production.
The AI discovered the available services, forwarded the ones needed for the task, and configured the application with the correct connection strings.
§Claude Desktop
The same workflow works in Claude Desktop. Here a user asks Claude to forward services so their existing config.py can connect:
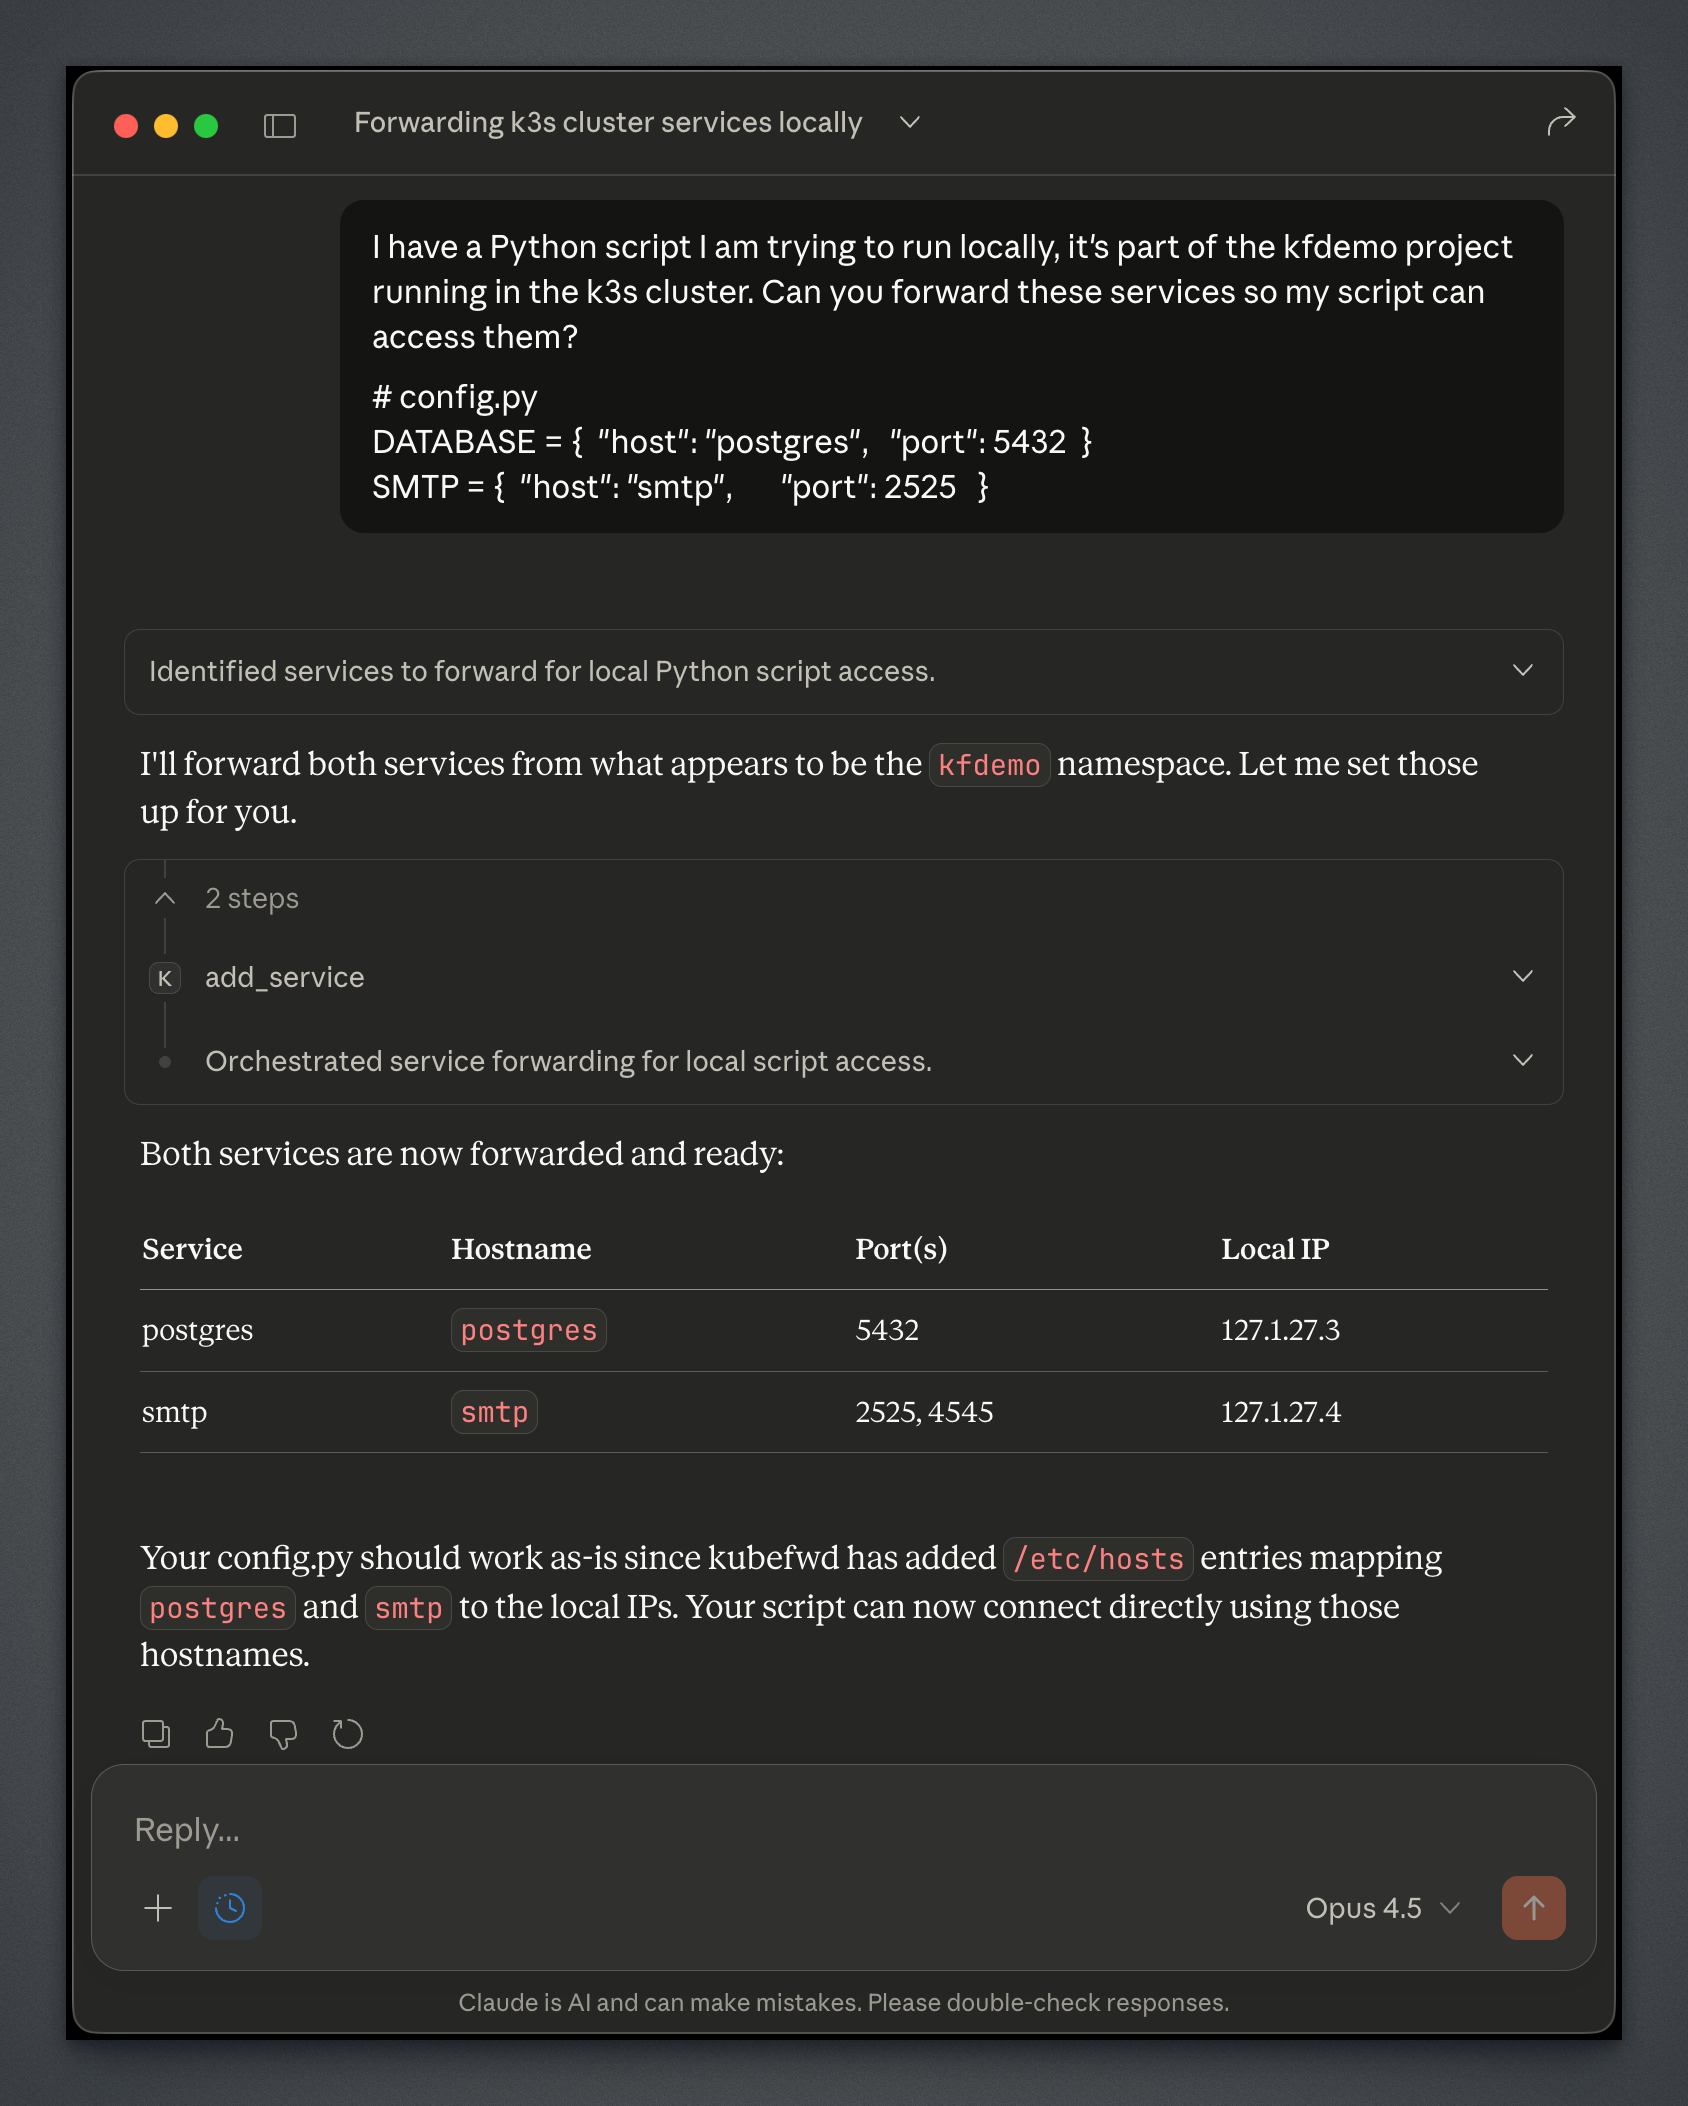
Claude identifies the services from the config file, forwards them from the kfdemo namespace, and confirms the /etc/hosts entries are in place. The user’s script works without any configuration changes.
§Other MCP-Capable Tools
Any tool that supports MCP can use the kubefwd server. This includes Cursor, Windsurf, and other AI-assisted development environments. The setup process is similar: configure the MCP server and start kubefwd with the API enabled.
§Setup
§Claude Code
claude mcp add --transport stdio kubefwd -- kubefwd mcp
§Claude Desktop
Download the .mcpb bundle for your platform from GitHub Releases and double-click to install.
§Running kubefwd for MCP
After configuring MCP support, start kubefwd in a terminal:
sudo -E kubefwd --tui
I prefer running with the TUI so I can see what Claude is doing. The TUI shows services being added and removed as your AI manages them.
The --tui flag is optional. You can also run without it for a quieter experience:
sudo -E kubefwd
Both modes enable the REST API that the MCP server connects to.
§How It Works
The MCP integration uses a two-process architecture:
- kubefwd runs with sudo and manages the actual port forwarding,
/etc/hostsentries, and network bindings - kubefwd mcp runs without sudo as a stdio-based MCP server that AI assistants spawn
The kubefwd mcp process connects to kubefwd’s REST API (at http://kubefwd.internal/api) to discover and control forwarding. This design lets AI assistants spawn the MCP server without requiring elevated privileges.
AI Assistant
    ↓ (stdio)
kubefwd mcp (no sudo)
    ↓ (HTTP)
kubefwd (sudo) → Kubernetes cluster
§Quick Start
If you’re new to kubefwd, here’s the fast path.
Install on macOS:
brew install txn2/tap/kubefwd
Configure MCP for Claude Code:
claude mcp add --transport stdio kubefwd -- kubefwd mcp
Run kubefwd:
sudo -E kubefwd --tui
Now your AI assistant can manage Kubernetes service forwarding. Ask it to “forward the postgres service from namespace X” and watch it happen.
For the full feature guide including the interactive TUI, auto-reconnect, and REST API, see kubefwd in 2026: Interactive TUI and Auto-Reconnect.